Castor oil packs aid in elimination and detoxification. Castor oil packs have many applications and are used in many conditions including fibroids, cysts, headaches, migraines, constipation, intestinal disorders, gallbladder and liver conditions, and other dysfunctions when used properly and consistently.

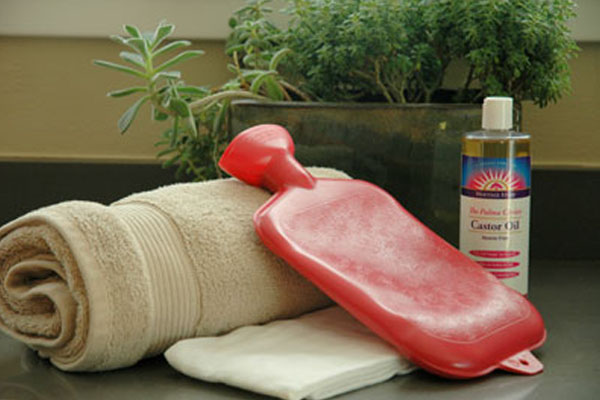
Supplies:

  • Small/dish towel, piece of flannel
  • large/bath towel
  • hot water bottle or heating pad
  • castor oil

Directions:

1) Apply a generous amount of castor oil to the desired body part

2) Put a piece of plastic wrap or a plastic bag over the area you just put castor oil on

3) Place a dry dish towel or flannel over the plastic

4) Place a hot water bottle or heating pad over the towel/flannel

5) Cover all with a larger towel, creating a tent-like effect to keep the heat in (If too hot place a second towel/piece of flannel over the plastic)

6) 20-minute minimum rest. You may sleep, use visualization, or meditation at this time.

* With pregnancy consult your physician.

Ingredients:

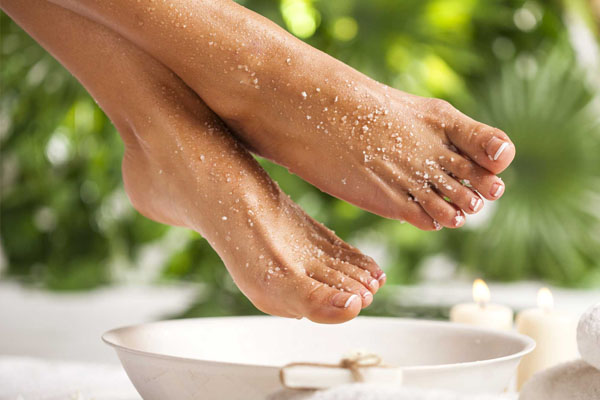
  • 1/3 cup granulated sugar
  • 1 tablespoon grapeseed oil
  • 12 drops tea tree essential oil
  • 12 drops tangerine essential oil
  • 4 oz. Wide mouth glass jar

Directions:

  1. Measure sugar, grapeseed oil, and essential oils into jar. Stir contents until well mixed.
  2. To use, scoop out 1 tablespoon of mixture and massage into feet. Rinse with warm water and wipe dry with a towel.

Tip: Substitute tamanu oil for the grapeseed oil for a thicker texture.

Resource: Aura Cacia DIY Recipes for body care and home


Ingredients:

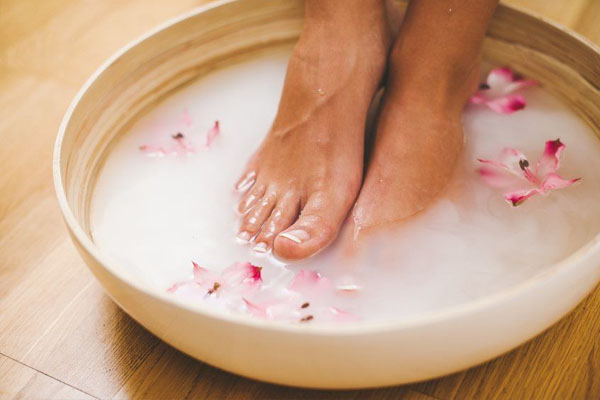
  • 2 tablespoons sea salts
  • 2 tablespoons Epsom salts
  • 1 tablespoon baking soda
  • 20 drops lavender essential oil
  • 5 drops peppermint essential oil
  • 5 drops spearmint essential oil

Directions:

  1. In a small dish combine dry ingredients and mix evenly
  2. Sprinkle mix with essential oils and mix thoroughly until a slightly damp powder forms
  3. Transfer to an airtight container
  4. To use, dissolve 1-2 tablespoons into a basin of hot water and soak feet until water is tepid. Rinse and towel dry.

Tip: Replace spearmint with teatree or an additional 5 drops of peppermint.

Resource: Aura Cacia DIY Recipes for body care and home


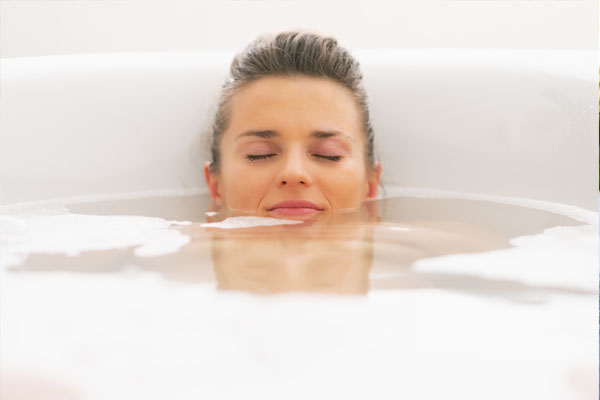
Baths are especially useful for people with toxic bioaccumulation of xenobiotics. The hot water increases the blood flow and capillary action near the surface of the skin, causing a faster release of toxins. The heat also increases sweating and opens pores, allowing toxin-containing perspiration to be excreted more readily. Follow these general instructions for both the plain-water baths and the detox baths.

  1. Wash your body thoroughly with a mild soap in the shower before you take your bath and scrub with a loofa sponge, sisal mitt, skin brush or rough washcloth to remove excess body oils, dead skin, and any accumulated toxins. Rinse thoroughly.
  2. Fill the tub with water as hot as you can tolerate without burning your skin, Cover the tub’s overflow valve so the water level will be high enough to immerse your body up to your neck.
  3. Begin with a 5-minute soak in hot water. Do not exceed 5 minutes for your first bath, Gradually increase the time by 5-minute increments until you can soak for 30 minutes without experiencing symptoms,
  4. Gently massage your muscles with a skin brush while soaking to increase circulation to the skin,
  5. After soaking, take a cleansing shower. Scrub thoroughly and wash your hair. If you continue to perspire, repeat shower.
  6. Take your tolerated dose of Vitamin-C before and after each bath. If you’re taking any antioxidant supplements, take them before your bath.
  7. Drink an 8 ounces glass of filtered water before, during, and after your bath.

Take detox baths 3 times a week until your general health has improved. The use of baths once or twice a week prevents the accumulation of toxins.


Hydrotherapy is the use of water, steam or ice and hot or cold temperatures.

Hydrotherapy can:

  • Increases circulation of the blood and lymph
  • Cleans the skin
  • Relieves pain; serve as a local anesthetic
  • Lower fever
  • Decrease cramps
  • Induce sleep
  • Soothes the nervous system
  • Acts as a stimulant
  • Increase physical and mental alertness

The primary reaction of the body to heat is relaxation and it is the secondary reaction to depression, sedation and atony (lack of muscle tone). Heat stimulates the nervous system and causes white blood cells to migrate from the blood vessels into the tissues, cleaning up toxins including bacteria and viruses, and eliminating waste. The primary reaction of the body to cold is stimulation and the secondary reaction is invigorating, restorative and tonic (improves muscle tone). Cold reduces inflammation by vasoconstriction also reducing inflammatory agents by making the blood vessels less permeable.

Alternating of heat and cold stimulates the adrenal and endocrine system, reduces congestion, alleviates inflammation, activates organ function, improves circulation in the digestive organs and pelvis, and helps the detox capacity of the liver.

Types of Hydrotherapy

  • Baths and Showers
  • Compresses and Packs: Compresses may be hot, cold or alternating hot and cold, and usually applied with pressure. Both compresses and packs help stimulate the immune system and increase the white blood cell count. Also to treat infections and bruises.
    • Hot compresses applied for 30 minutes or more. Change when they cool off.
    • Cold compresses applied as cold cloth wrung from ice water. Refresh as they warm up.
    • Ice packs are a very cold application, usually ice or gel packs.
    • Applied to the area for 20 minutes out of every hour for the first 24 hours.
    • Hot packs warm a local area to relieve muscle spasms and pain and encourage blood flow, Towels soaked in hot water from the tap can be used 120 degrees Fahrenheit.
  • Sprays: Sprays are strong jets of water directly at a local or general area. Showers are a type of spray. Hot and cold alternating. Cold sprays to the breastbone or upper legs stimulate the kidneys. Cold sprays or alternating hot and cold sprays on the abdomen stimulates the liver.

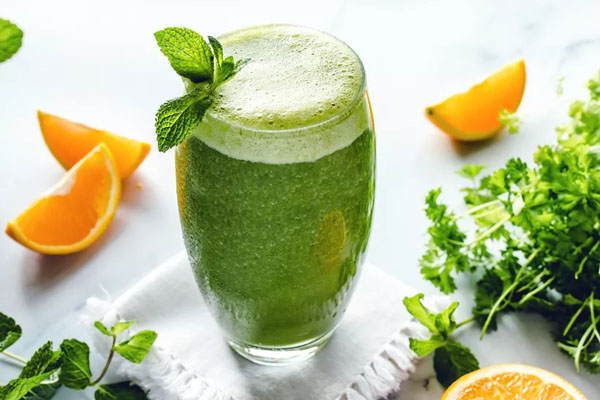
Simple Vegetable Smoothie™, 1 large or 2 smaller servings

Ingredients

  • 3 medium-large kale leaves, strip off the ribs
  • 1 cup loosely packed spinach leaves
  • ¼ cup fresh parsley
  • ¼ cup cilantro
  • ¼ large cucumber
  • ½ apple

Directions: Add the fresh organic ingredients to a high-speed blender like VitaMix, add 2 pints of the prepared Green Drink™ (from yesterday) and blend on high until thoroughly blended.

Deluxe Vegetable Smoothie™, 2 servings

In addition to the above ingredients add:

  • 1 cup microgreens some or all broccoli, radish, clover, flax, sunflower, buckwheat
  • 1 cup loosely packed sprout mix
  • ¼ cup loosely packed moringa leaves or 1 tsp powder (optional)
  • 2 tablespoons dandelion greens
  • 1/3 cup chopped green cabbage
  • 1-1/2 inch piece chopped burdock root
  • 1-inch piece chopped ginger root, no need to peel
  • 1-1/2 inch piece chopped turmeric root, no need to peel
  • 3 inch piece fresh aloe vera, inner fillet, avoid the sap (strong laxative)
  • 2 tablespoons apple cider vinegar
  • 2 teaspoons beet crystals

Directions: Add the fresh organic ingredients from both recipes to a high-speed blender like VitaMix, add 2 pints of prepared Green Drink™ and an additional 1 pint of water. Blend on high to until thoroughly blended. Pour into 2 quart-sized jars and refrigerate 1 for later.


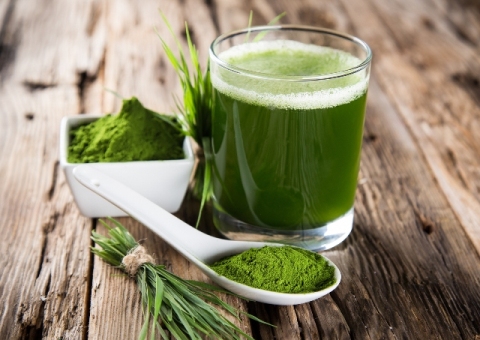
Simple Green Drink™, yields 1 quart

Ingredients

  • 1/4 cup fresh lemon or lime juice
  • 1-2 tablespoon maple syrup, Manuka or Lehua honey (optional)
  • 2 tablespoons liquid Chlorophyll
  • Liquid Vitamin B complex – bottle dosage
  • Liquid Magnesium – 1,200 mg.
  • Liquid Cell Food – bottle dosage 8 drops
  • 1 tablespoon Green Drink™ powder mix

Directions:

  1. Into a quart-sized glass jar add ingredients and fill with filtered water. Shake to combine thoroughly. Drink freely throughout the day.

Note: Dr. Cotter recommends saving ½ of this finished drink to use as a base for your Vegetable Smoothie™ the following day.

Watch Video > “How To Make Green Drink™

Deluxe Green Drink™, yields 1 quart

Ingredients

In addition to the ingredients of the Simply Green Drink™ above add:

  • Liquid Vitamin D3 – 5,000 i.u.’s
  • 8 drops Vitamin E
  • ¼ teaspoon Liquid Vitamin B-12
  • Liquid Kelp – bottle dosage
  • 10 drops Grape Fruit Seed Extract
  • 10 drops liquid Silica
  • 1 tablespoon Green Drink™ powder mix

Directions:

  1. Into a quart-sized glass jar add the above ingredients in addition to the Simple Green Drink™ and fill with filtered water. Shake to combine thoroughly. Drink freely throughout the day.

Note: Whether you do the Simple or Deluxe version, Dr. Cotter recommends saving ½ of the finished drink to use as a base for your Salad Smoothie™ the following day.

Watch Video > “How To Make Green Drink™


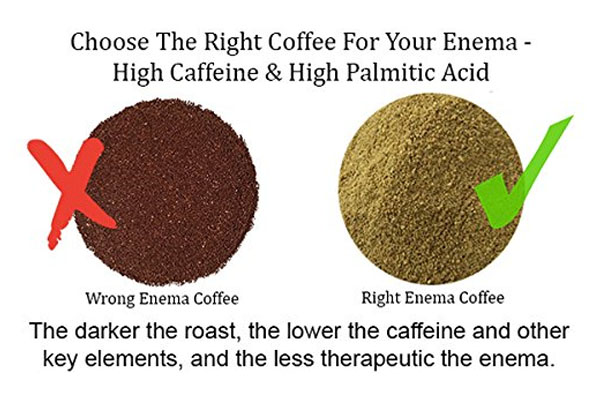
To make the Coffee Enema Solution:

Use 1 rounded tablespoon of green coffee grounds per 1 cup of purified water.

How to make: Boil 1 cup of purified water for 5 minutes. Steep for 20 minutes minimum. Let the solution cool to touch and strain very well with a strainer.

Note: You may prepare several batches at a time to save time. Store any extra solution in a closed container in the refrigerator. Heat as needed to body temperature.

Instructions:

1. In the morning after you empty your bowels/defecate,

Put 1 cup of coffee into the enema bag.

2. Hang the bag on a doorknob or in the bathtub from the faucet knobs
(about 24-30 inches off of the floor), be sure enema hose is clamped shut!

3. Lay down on the left side and gently insert the enema nozzle or catheter.

Use vitamin E or a good natural salve (coconut oil or olive oil) to lubricate catheter.

4. Release the enema clamp and allow the coffee solution to flow slowly in. Pull out nozzle when empty.

5. Go to the toilet and release the solution. Repeat steps 2 and 3. Then retain coffee solution for 15 minutes, or as long as comfortable. Do not strain.

6. Once empty, roll on your back or right side and massage lower abdomen, in a smooth circular motion. Give extra attention if you find hard spots where blockages and build-up might be.

7. Release solution and toxic waste in the toilet!

Watch > How to do Green Coffee Enema or Licorice root with Castor oil

The information on this handout is for educational purposes only and is not a substitute for medical advice, diagnosis, or treatment. For more information pertaining to your personal needs, please see a qualified health practitioner.

All rights reserved Dr. Malik Cotter, www.malikcotter.com, Copyright © 2019


This information is for educational purposes only and is not a substitute for medical advice, diagnosis, or treatment. For more information pertaining to your personal needs, please see a qualified health practitioner.

All rights reserved Dr. Malik Cotter, www.malikcotter.com, Copyright © 2019


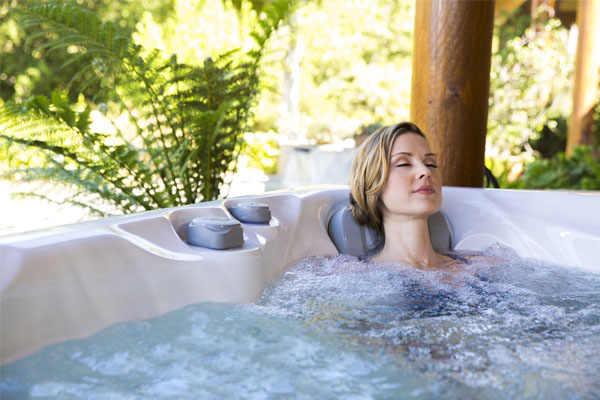
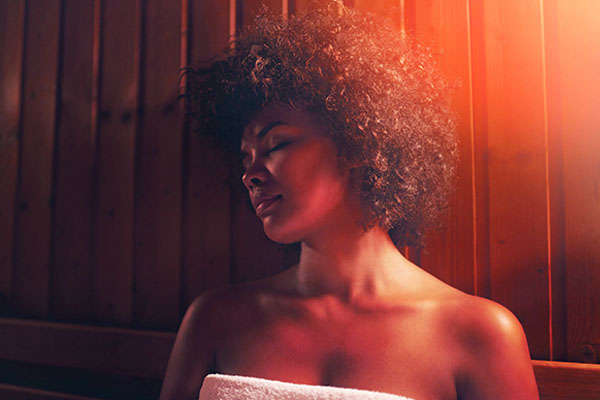
The use of sauna is a major part of most detox programs because the “heat stress” of a sauna is very effective in releasing toxins from fat cells.
Saunas may be either dry or wet.

For a dry sauna, no moisture is added to the sauna room. Electricity is used to generate infrared heat. Dry saunas stimulate vasodilation of peripheral blood vessels and increase cardiovascular activity, which helps the body rid itself of more toxins. Saunas speed up all metabolism in the body and inhibit the replication of pathogenic organisms, such as bacteria and viruses. The immune response is also strengthened because the number of leukocytes (a type of white blood cell) in the blood is increased.

Steam is used in wet saunas. A steam generator or water poured over the heated rocks may be used to provide steam. The steam raises the body temperature quickly and is beneficial for arthritic pain and upper respiratory conditions. The humid heat helps the skin.

Dry saunas are recommended because they increase sweating and so speed detoxification. A complete sauna cleansing program should include exercise, time in a dry sauna, and a cleansing shower followed by a massage or physical therapy.

The information on this handout is for educational purposes only and is not a substitute for medical advice, diagnosis, or treatment. For more information pertaining to your personal needs, please see a qualified health practitioner.

All rights reserved Dr. Malik Cotter, www.malikcotter.com, Copyright © 2019